Monday, January 15, 2018

Temperature quilt progress - two weeks

So, we're two weeks into January. How is your temperature quilt coming along? If you are already on board, super! If not, there's still time to join in! I've found that making my three flying geese units per day for my three quilts only takes about five minutes, since I have the triangles pre-cut and organized.

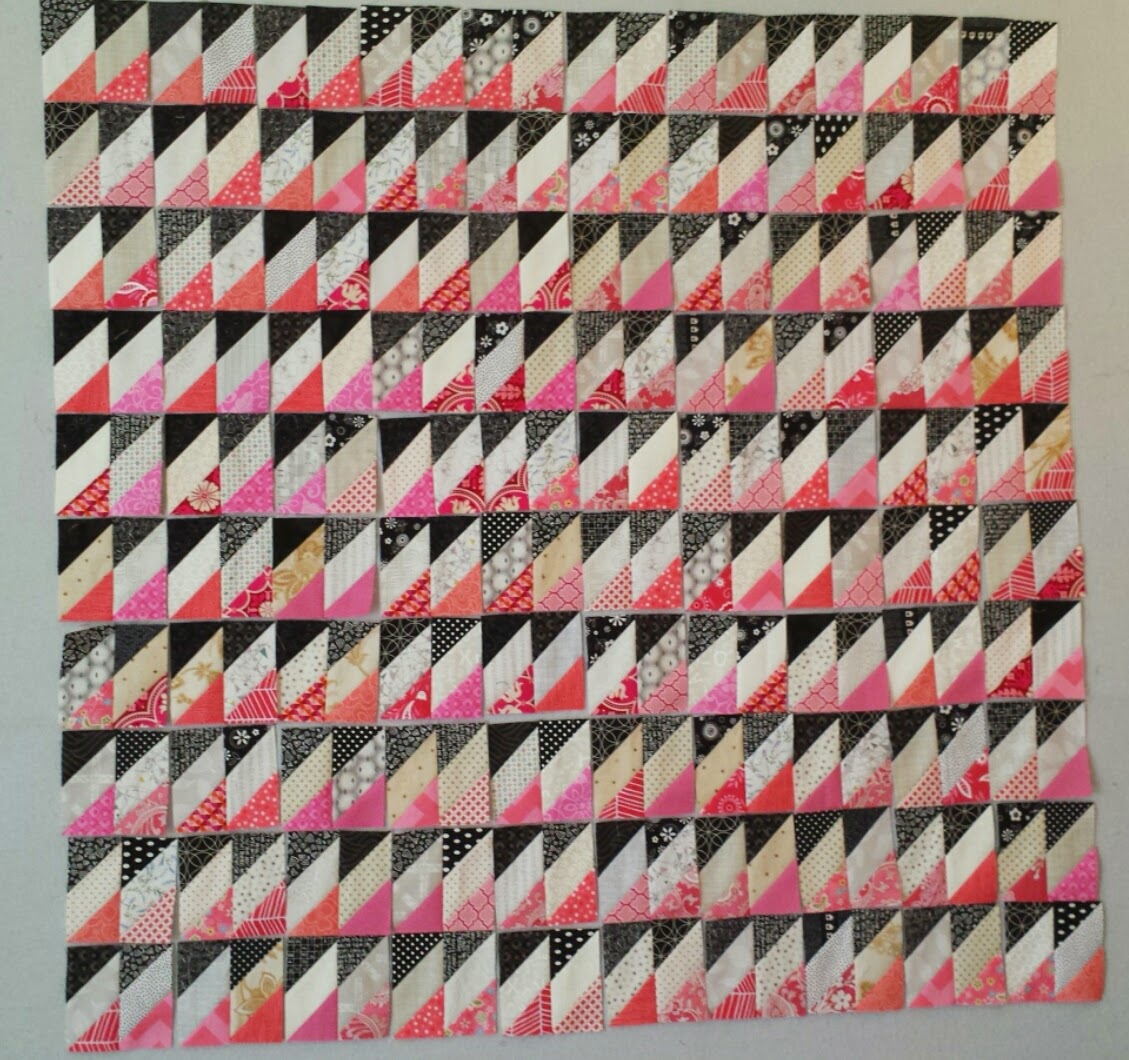
Here are my three quilts so far. These will be for me and my two sisters. You can really see the difference in temperature ranges for the three locations! I've chosen to indicate days where the temperature never rose above freezing with a downward facing goose. My Texas quilt will have just a handful of them, while my Wisconsin sister's quilt will have quite a lot!


Wednesday, January 3, 2018

Temperature Quilt 2018 - getting organized

I don't know about you, but if I'm going to keep a daily project going for an entire year along with all of my other projects, I need to get organized! Here's a rundown of what I'm doing to keep track of everything.

I purchased my fabrics yesterday. I'm using Moda Bella solids in 26 colors. I've decided to make three quilts instead of just one! I want to see some very different quilts, so I'm making one for me - I live in Texas - as well as one for each of my sisters. One lives in Missouri and the other lives in Wisconsin. Because of this big geographic difference, I need a really wide temperature range. I've chosen to do 5 degree increments from -15 to 105 degrees, plus one color for everything over 105 and another for anything below -15. Here's my color chart.


Next, I need somewhere to keep pre-cut pieces to make my flying geese. I used some cardstock to create little folders for each color. Inside, I can keep the triangles used to make the flying geese. I am using Bonnie Hunter's Essential Triangle Tool to cut the two sizes of triangles from 3 inch strips. With my folders, I can cut up a strip or two up all at once instead of keeping track of partially used strips. Here is my basket of folders.


And here is a look at the contents of one folder. I'm hoping to keep well stocked on mainly one season's worth of triangles at a time. No need to fill up all 26 folders, when I hope to not need all of those bright reds for several months!


If you're playing along on Instagram, use the hashtag #tempquilt18 for your posts so that we can all see what you're making!

Tuesday, January 2, 2018

Temperature Quilt 2018 Quilt Along!

I've been fascinated by all of the temperature quilts I've seen, and have decided that this is my year to make one. I'm having a quilt along so that we can all join in and share the fun! This will be a great year-long quilt project that you can do in very little time each day along with any other projects you have on your list.

A temperature quilt is simply a graphical representation of the temperatures in a location over the course of an entire year. Most show the high and low temperature for each day. Some also note any record high or low temperatures, and sometimes even the weather. How you choose to show these things is completely up to you. I have seen quilts using rectangles, squares, half square triangles, half square rectangles, and flying geese. I'm sure there are lots of other ideas that would work as well. How about a square in a square unit? You could even do something with English paper piecing and hexies if you like. Use your imagination and make it your own!

My plan is to make a flying geese unit for each day, with the main "body" of the goose showing the high temperature for the day, and the two side triangles showing the low. I live in Texas, where the temperature range is approximately 20 degrees to 105 degrees Fahrenheit. I will use one color for each five degree range, plus an additional color for anything lower than 20, and another for anything over 105. So I'll need 19 colors. I see a shopping trip in my immediate future!

I'm going to make my flying geese 2.5 by 5 inches finished, meaning that I'll make them 3 by 5.5 inches unfinished size. I will be using Bonnie Hunter's Essential Triangle Tool for the cutting, which will allow me to cut both the goose body and the side triangles from 3 inch strips. The same thing can be accomplished using the Easy Angle and Companion Angle rulers. Using just one size of strips will help me avoid wasting fabric and also to stay more organized. Keeping things organized will be important with so many colors and such a long term project. My quilt will have one column of flying geese per month, and will finish at approximately 60 by 77 inches.

If you're planning to use flying geese in this arrangement, here are some finished sizes for various sized flying geese units. Keep in mind that that these are the finished FG sizes, after they're sewn into the quilt.

1.5 x 3 inch flying geese ----------------------------------------- 36 x 46.5
2 x 4 inch flying geese ------------------------------------------- 48 x 62
2.5 x 5 inch flying geese ----------------------------------------- 60 x 77
3 x 6 inch flying geese --------------------------------------------72 x 93
3.5 x 7 inch flying geese ----------------------------------------- 84 x 108.5

The other thing I'll need to do is to choose my weather data source. I've found the web site that I plan to use for my high and low temperatures and have put a handy icon on my desktop so that I can easily pop over to check on it each day. I've also got a blank spreadsheet ready and waiting to keep track. Although I plan to keep up on the flying geese units each day, we all know that life can and will interfere at times, so keeping the data where I can see it and check off the units as I go will be super helpful.

I've started a Temperature Quilt Ideas board on Pinterest. Feel free to check it out: https://www.pinterest.com/colorfulom/temperature-quilt-ideas/

Short list for getting started:
- make a plan for design and size of quilt
- find temperature data source
- decide on temperature range you'll need
- choose colors; buy fabric
- get ready to have fun!

Tuesday, February 2, 2016

Allietare mystery quilt progress

I've been working on the absolutely gorgeous mystery quilt from Bonnie Hunter called Allietare, inspired by Bonnie's recent trip to Italy. I have all of the blocks well underway and several complete. Please come over to Instagram if you'd like to see more posts from me - that's where I spend most of my time now. My Instagram name is thecolorfulom.

To see lots more Allietare loveliness from many other participants, visit the link-up over at Bonnie's site: http://quiltville.blogspot.com/2016/02/mystery-monday-link-up-february-2016.html. I am blown away by all of the wonderful variations of this year's mystery. I don't think it's possible to make a bad color combination with this pattern!


Monday, January 5, 2015

Grand Illusion Mystery Quilt assembly time!


Bonnie has revealed the layout for her Grand Illusion Mystery Quilt, and it's a beauty! The secondary patterns created by the arrangement of the pieces are wonderful, and not anything that I was able to find in all of my twisting and turning of the parts. This is what I have assembled so far, and I can't wait to have a finished quilt to show!

To see more progress from lots of people, check out Bonnie's Mystery Monday link-up.

Monday, December 29, 2014

Grand Illusion Mystery Quilt clue 5


This week's clue in Bonnie Hunter's Grand Illusion Mystery Quilt was a quick and easy one - four patch blocks of two different kinds. It was so nice to have an easy clue for Christmas week!

Check out Bonnie's Mystery Monday link-up to see what everyone has been doing this week. It won't be long until we get to find out how this quilt will be assembled. I can't wait to see what we're making!

Monday, December 22, 2014

Grand Illusion Mystery Quilt clue # 4

  
We're racing toward the big reveal on Bonnie Hunter's Grand Illusion Mystery Quilt! This was the fourth week of sewing on the components of the quilt. This week, we made two slightly different kinds of broken dishes blocks, both of which are similar but not the same as the blocks from week 1.

I'm really looking forward to seeing how all of these deliciously scrappy parts are going to be put together. To see lots of other people's progress, check out Bonnie's Mystery Monday link-up.

Wednesday, December 17, 2014

Grand Illusion Mystery Quilt clue number 3


This week's clue in Bonnie Hunter's Grand Illusion Mystery Quilt used lots of our greens, along with plenty of neutral and a dash of black. These were easy units and went together pretty quickly.

To see lots of photos of mystery quilt progress, stop by Bonnie's Mystery Monday link-up for this week.

Thursday, December 11, 2014

Grand Illusion Mystery Quilt clue #2


This week's clue for Bonnie Hunter's Grand Illusion mystery quilt had us making these terrific double diamond blocks using our black, pink, and neutral fabrics. Bonnie even graciously provided three different construction methods to choose from. I chose method #3 (stitch and flip), which was familiar to me. Even so, her tips and tricks taught me to make these units more accurately than I ever have before, and with the number we made, I had plenty of chance to practice!

I'm using lots of different fabrics of each color. I have 15 or so in the black and pink groups, and over 25 neutrals. I love the way this quilt is shaping up, and can't wait to see what we're making!

Head on over to Bonnie's link up party to see all of this week's progress from lots of people!

Wednesday, December 3, 2014

Grand Illusion Mystery Quilt - clue #1

I admit to being a huge slacker when it comes to blogging. I'm much more active on Instagram, so if you want to really see what I'm up to, find me over there - my username is thecolorfulom.

I decided to make the Bonnie Hunter mystery quilt this winter. I love scrappy quilts, and I follow Bonnie on pretty much every social media site there is, so it was meant to be. We started last Friday, which was not only Black Friday, but also my birthday! Clue number one had us making loads of broken dishes blocks in yellow, black, blue, and pink. Here are mine. I can't wait to see what comes next and how these blocks fit into the quilt!


Not pictured are the extra 80 half square triangle units that we made in the same blue/pink combination, which are to be saved for a later clue.

Hop on over to Bonnie's blog if you want to join in on the mystery. Here's the link to the mystery quilt main page, which will have links to each week's clue: http://quiltville.blogspot.com/p/grand-illusion-mystery.html

If you want to see the progress on Clue #1 from lots of participants, here's the link to this week's linky party: http://quiltville.blogspot.com/2014/12/mystery-monday-link-up-part-1.html

Wednesday, February 26, 2014

Time for yet another new hobby - quilting this time!


I've been wanting to learn quilting for years. My mom has always sewed. She made lots of clothes for me and my three siblings when we were younger, and she's been quilting since I was a teenager. The process of quilting has always fascinated me. So I decided it was time to dive in. I bought a sewing machine and started to surf the internet for pattern ideas. For my first quilt, Mom encouraged me to start simple - all squares and rectangles. Better to save the triangles for a future project. I decided on a disappearing nine patch design starting with some nice big squares - 6x6 inches. Once the nine patches are cut into quarters, you end up with blocks that finish out to 8 inch square. The quilt came together quickly and is all in my favorite colors, so I loved the process.

I think I'm addicted now! I have two other quilts in process, fabric chosen for a couple more beyond that, and a stack of patterns that I want to try. Stay tuned!

Sunday, August 25, 2013

Papertrey Ink August Blog Hop - Katrina's card

My daughter Katrina, age 13, decided to play along with the blog hop this month, too. Here's the inspiration that she chose to use:
She chose to use the tea-dyed flower that I brought home from Stamp-a-faire on her card. Grosgrain ribbon made quick work of the diagonal stripes. She's a natural!

Papertrey Ink August Blog Hop

This month's blog hop theme is Fast Food. A color scheme plus an inspiration photo equals a fairly quick card. Here's the inspiration:
And here's what I came up with. I love the way the banners from Sketched Shapes blend to make a cool plaid design.
Details: stamps - Sketched Shapes; paper - stampers select white, pure poppy, kraft; ink - Memento Pear Tart, Stampin' Up Ruby Red, Amuse Buttercup, Fresh Ink Ginger, Versafine Onyx Black

Scent-sational Cards - Stamp-a-faire 2013

For this challenge, we created scratch-and-sniff cards by mixing scented powders - in this case, sugar-free cherry Jello - with clear embossing powder. When I brought my embossed cherry back to the table after embossing, the red gingham paper happened to catch my eye, and it was the perfect thing to finish the card. Love it!
Details: stamps - Scent-imentals; paper - stampers select white, true black, patterned paper in Pure Poppy; ink - Versafine Onyx Black, Ruby Red (Stampin' Up), Basil (Fresh Ink) dies - Sketched Shapes, Mat Stack 3, Mat Stack 3 Layerz; other - clear detail embossing powder, sugar free Jello

Custom Accents From the Oven - Stamp-a-faire 2013

For this challenge, we used shrink plastic to create an embellishment for our project. I used my beloved Simple Sunflower set to create this card, including a sweet tiny sunflower tag made by shrinking the larger sunflower.
Details: stamps - Simple Sunflower, Delightful Dahlia Additions; paper - stampers select white, patterned paper in Hawaiian Shores; ink - Lido (Amuse), Basil (Fresh Ink); Dark Chocolate; dies - Simple Sunflower, Fabulous Frames; other - shrink plastic, baker's twine

Gallon Quart Pint - Stamp-a-faire 2013

For this challenge, we used the "gallon quart pint" method of achieving color balance - a lot of the main color, a smaller amount of a second color, and just a bit of a third. I chose to use Mighty Oak, which is well on its way to becoming one of my all-time favorite sets, and limited myself to just one color for the leaves (gallon), a dark chocolate trunk (quart), and a navy sentiment (pint).
Details: stamps - Mighty Oak, Mum's the Word; paper - soft stone, dark chocolate; ink - Lemonaid Ice, Navy (Amuse); dies - Might Oak

Sweet Sugar-Coated Embellishments - Stamp-a-faire 2013

This challenge involved using glitter to embellish our project. I used the giant daisy from Rosie Posie and glittered the center by die cutting a circle from a piece of wide double sided tape and putting that onto my stamped flower to glitter. I stuck the double sided tape onto a piece of waxed paper before die cutting - an improvisation that worked out really well!
Details: stamps - Rosie Posie, Boutique Borders Birthday; paper - stampers select white, patterned paper in Summer Sunrise and Ripe Avocado; ink - Fuchsia (Fresh Ink), Basil (Fresh Ink), Buttercup (Amuse); other - circle die from Sketched Shapes, double-sided tape

Limited Ingredients - Stamp-a-faire 2013

For this challenge, we were given a limited list of supplies that we could use. The list included Aqua Mist, Melon Berry, and Harvest Gold cardstock and ink, as well as a 1" strip of Soft Stone cardstock. I had a lot of difficulty figuring out how I could use all of the colors together, as this particular combination just wasn't my cup of tea. Fortunately, one of my crafty companions reminded me that I didn't have to use them all!
Details: stamps - Sketched Shapes, Think Big Favorites 12; paper - stampers select white, soft stone, aqua mist; ink - Versafine Onyx Black, aqua mist

Sprinkle of salt - Stamp-a-faire 2013

For this challenge, we used salt on our project to interact with the ink. I brushed Enchanted Evening ink onto watercolor paper to create a background. Then I sprinkled it with plenty of salt and mixed in more water. As it dried, the ink created this beautiful stormy night kind of background, so I used an extra die cut tree from Mighty Oak to complete the scene. I love the way this turned out!
Details: stamps - Mighty Oak; paper - watercolor paper, brushed silver, stampers select white, soft stone; ink - Enchanted Evening; dies - Mighty Oak, In the Meadow; other - white detail embossing powder

Mixing Mists to Match - Stamp-a-faire 2013

For this challenge, we created our own spray mists using reinkers and rubbing alcohol. I used three different colors of mist and sprayed them through a stencil. I didn't want to cover up the design, so I embossed the sentiment on vellum and mounted it over the misted piece.
Details: stamps - Grunge (Skipping Stones Designs); paper - stampers select white, vellum, Scarlet Jewel; dies - Half and Half; stencil - Mini Flying Bird Doily (thecraftersworkshop.com); other - Zing copper embossing powder